Thank you in advance for your trust! I am happy to welcome you as a getIndexed user.
Some words upfront: the documentation looks longer than it is actually is. Believe me, the setup can be done in 5 minutes. I decided it’s better to create an extensive how-to to make the set-up as easy as possible.
Important: To ensure that everything runs smoothly, go through the process in exactly this order:
- Create the Google Cloud “service account”, activate the Indexing API and get your login credentials. This is how getindexed “communicates” with the Indexing API.
- Add the service account (e-mail) as owner to Google Search Console. To do this, you must be the owner of the desired property yourself!
- Afterward, create your project in getIndexed and add the JSON-key.
If you have any questions, please contact me at stephan@getindexed.io. So let’s start 🙂
- Go to this page. I preselected the Indexing API, so you don’t need to search for it in Google Cloud.
- Accept the terms and conditions (if you aren’t using Google Cloud services yet)
- Now we need to create a project. This can either be done by clicking on the drop-down in the upper left corner near the Google Cloud logo, or by clicking on “Create project” in the upper right corner. How you create the project is dependent on if you already have Google Cloud projects running. If you like, you can use any existing cloud project, just add the Indexing API to it.
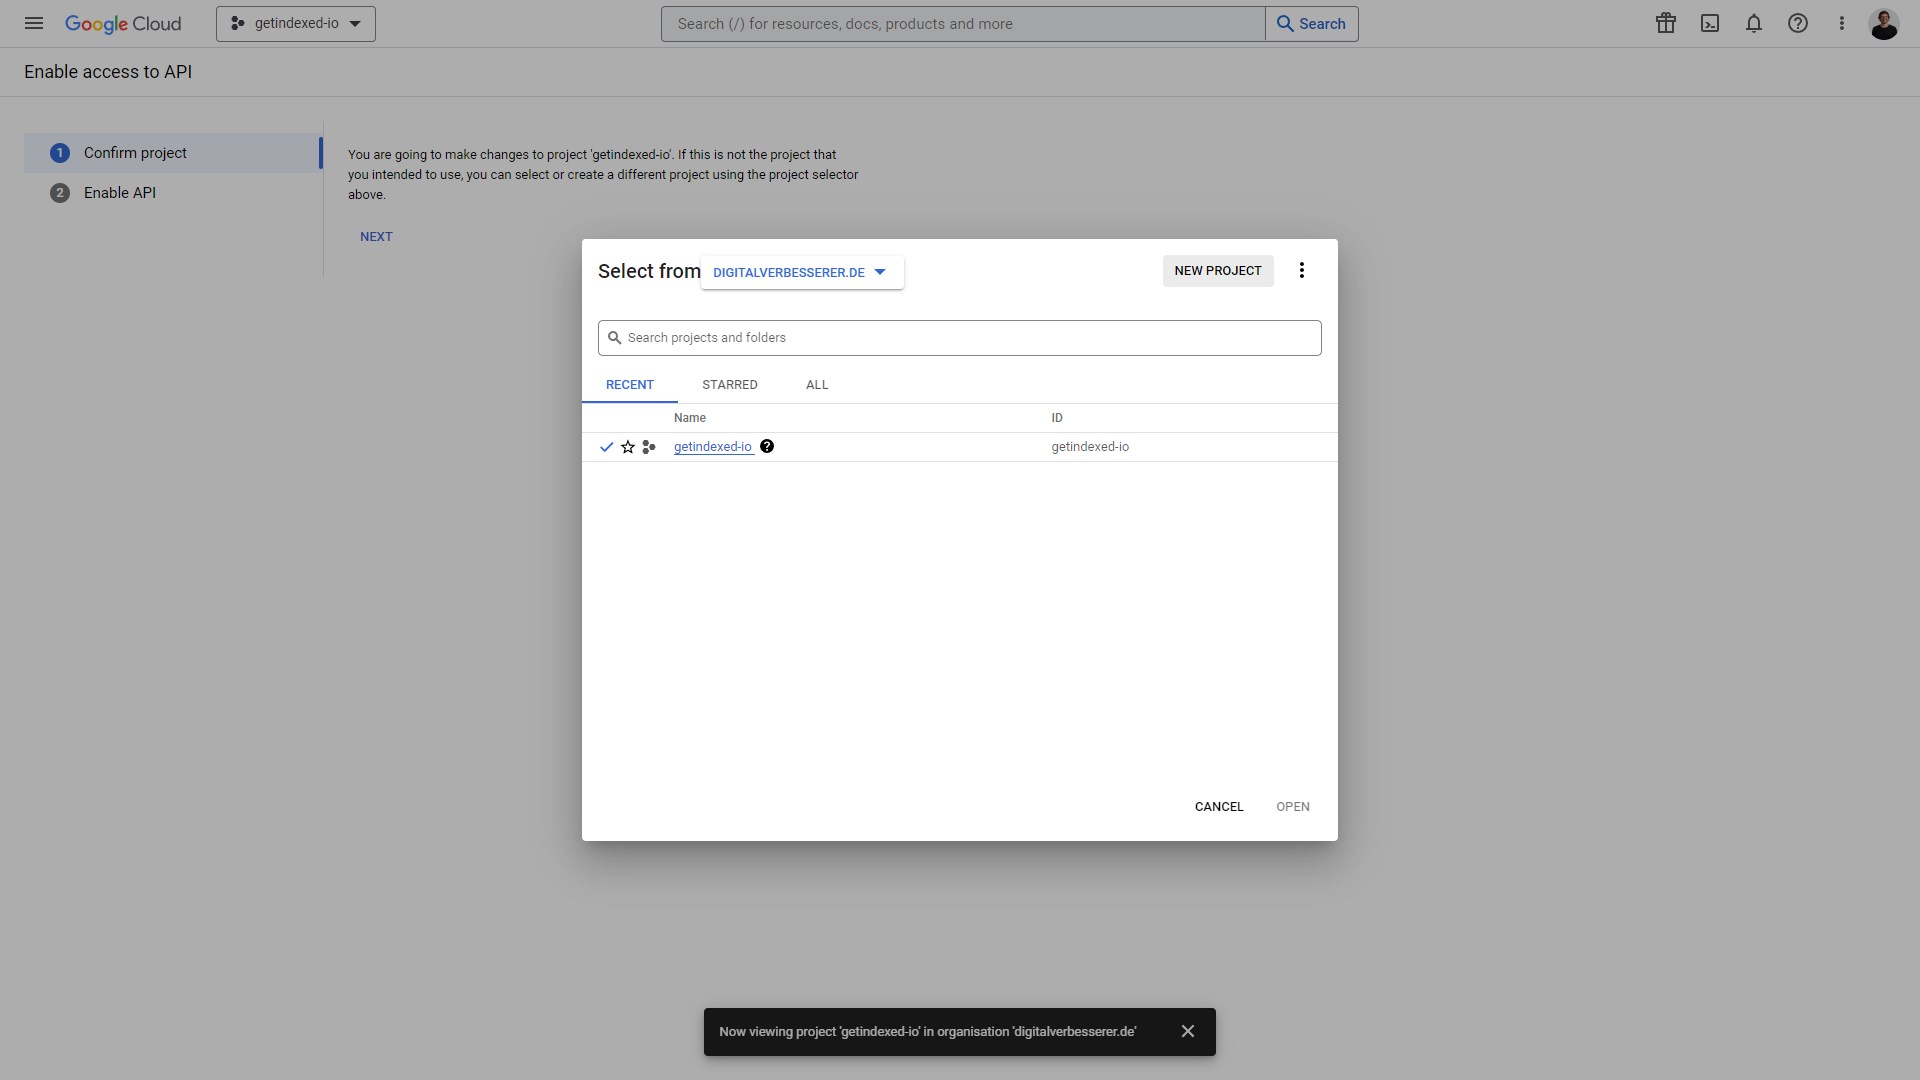
- After clicking on “New Project“, choose whatever name you like for your project (e.g. getindexed)
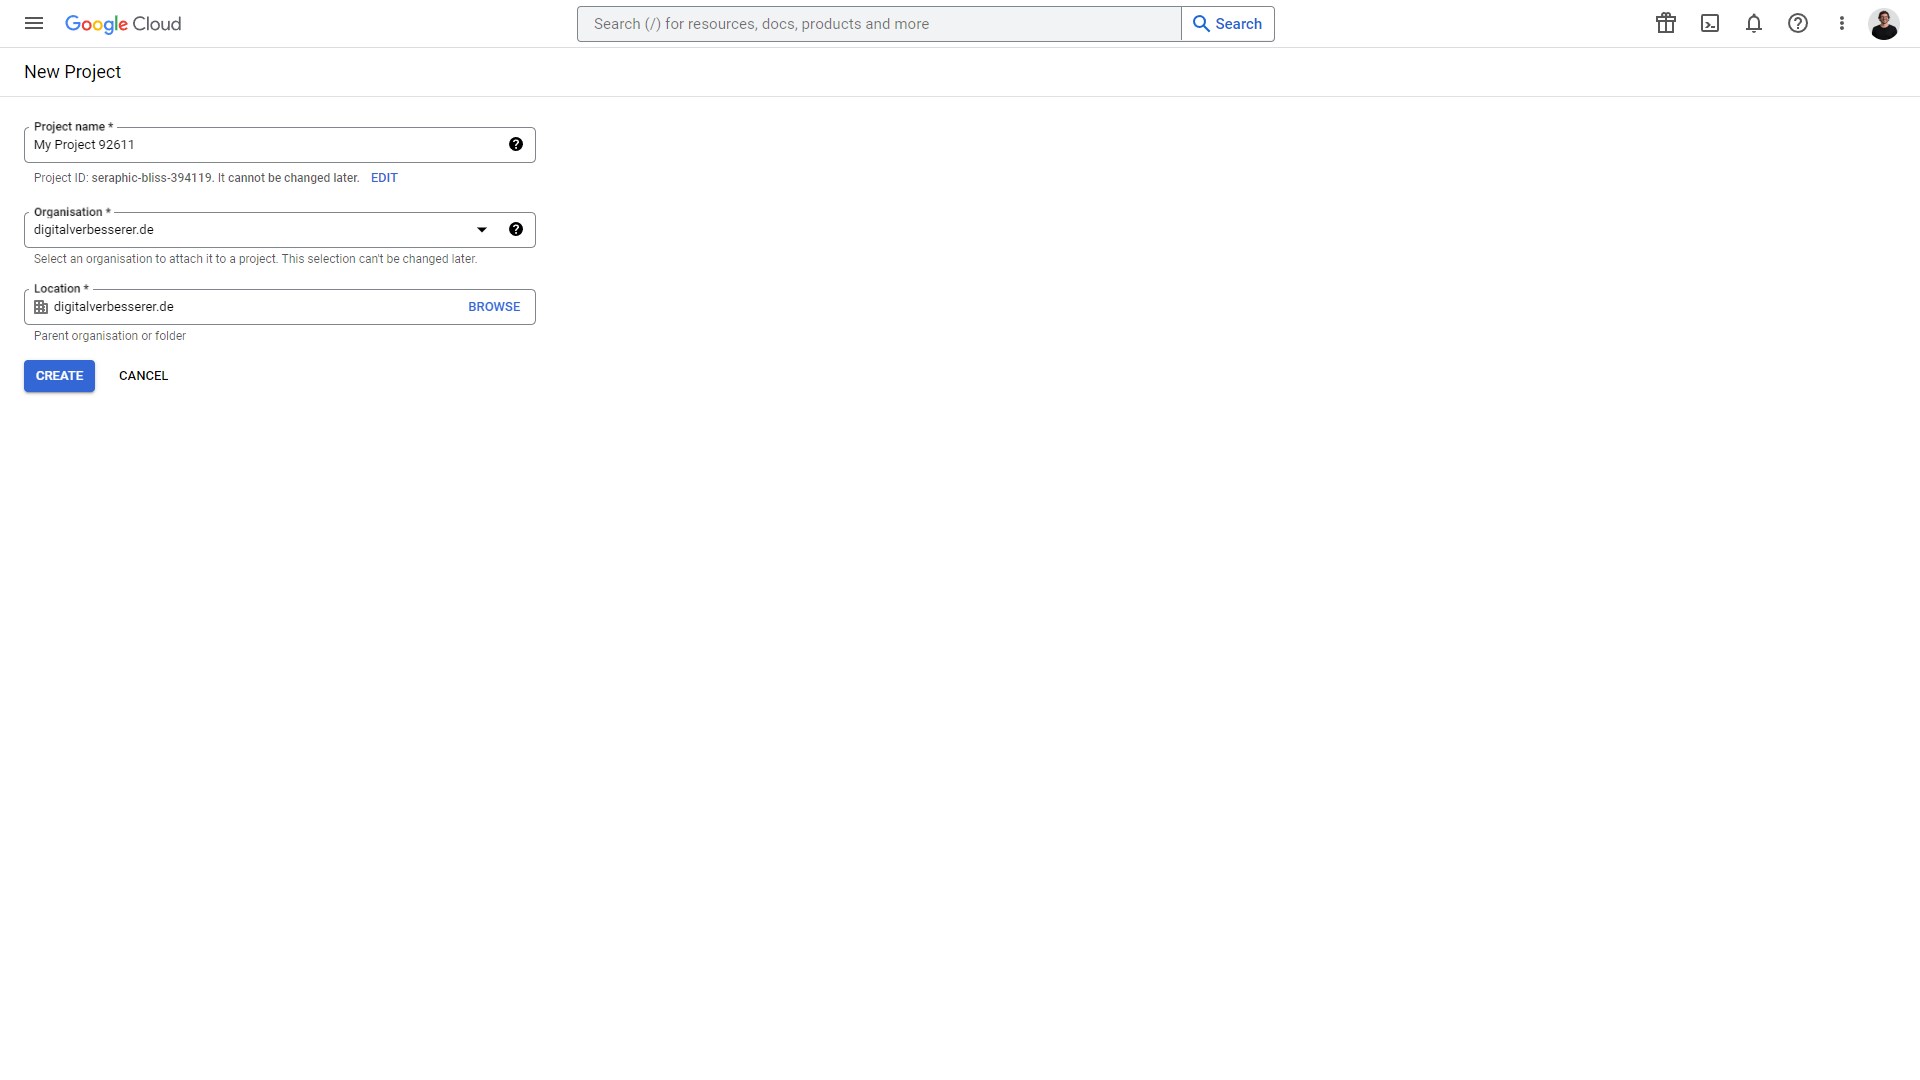
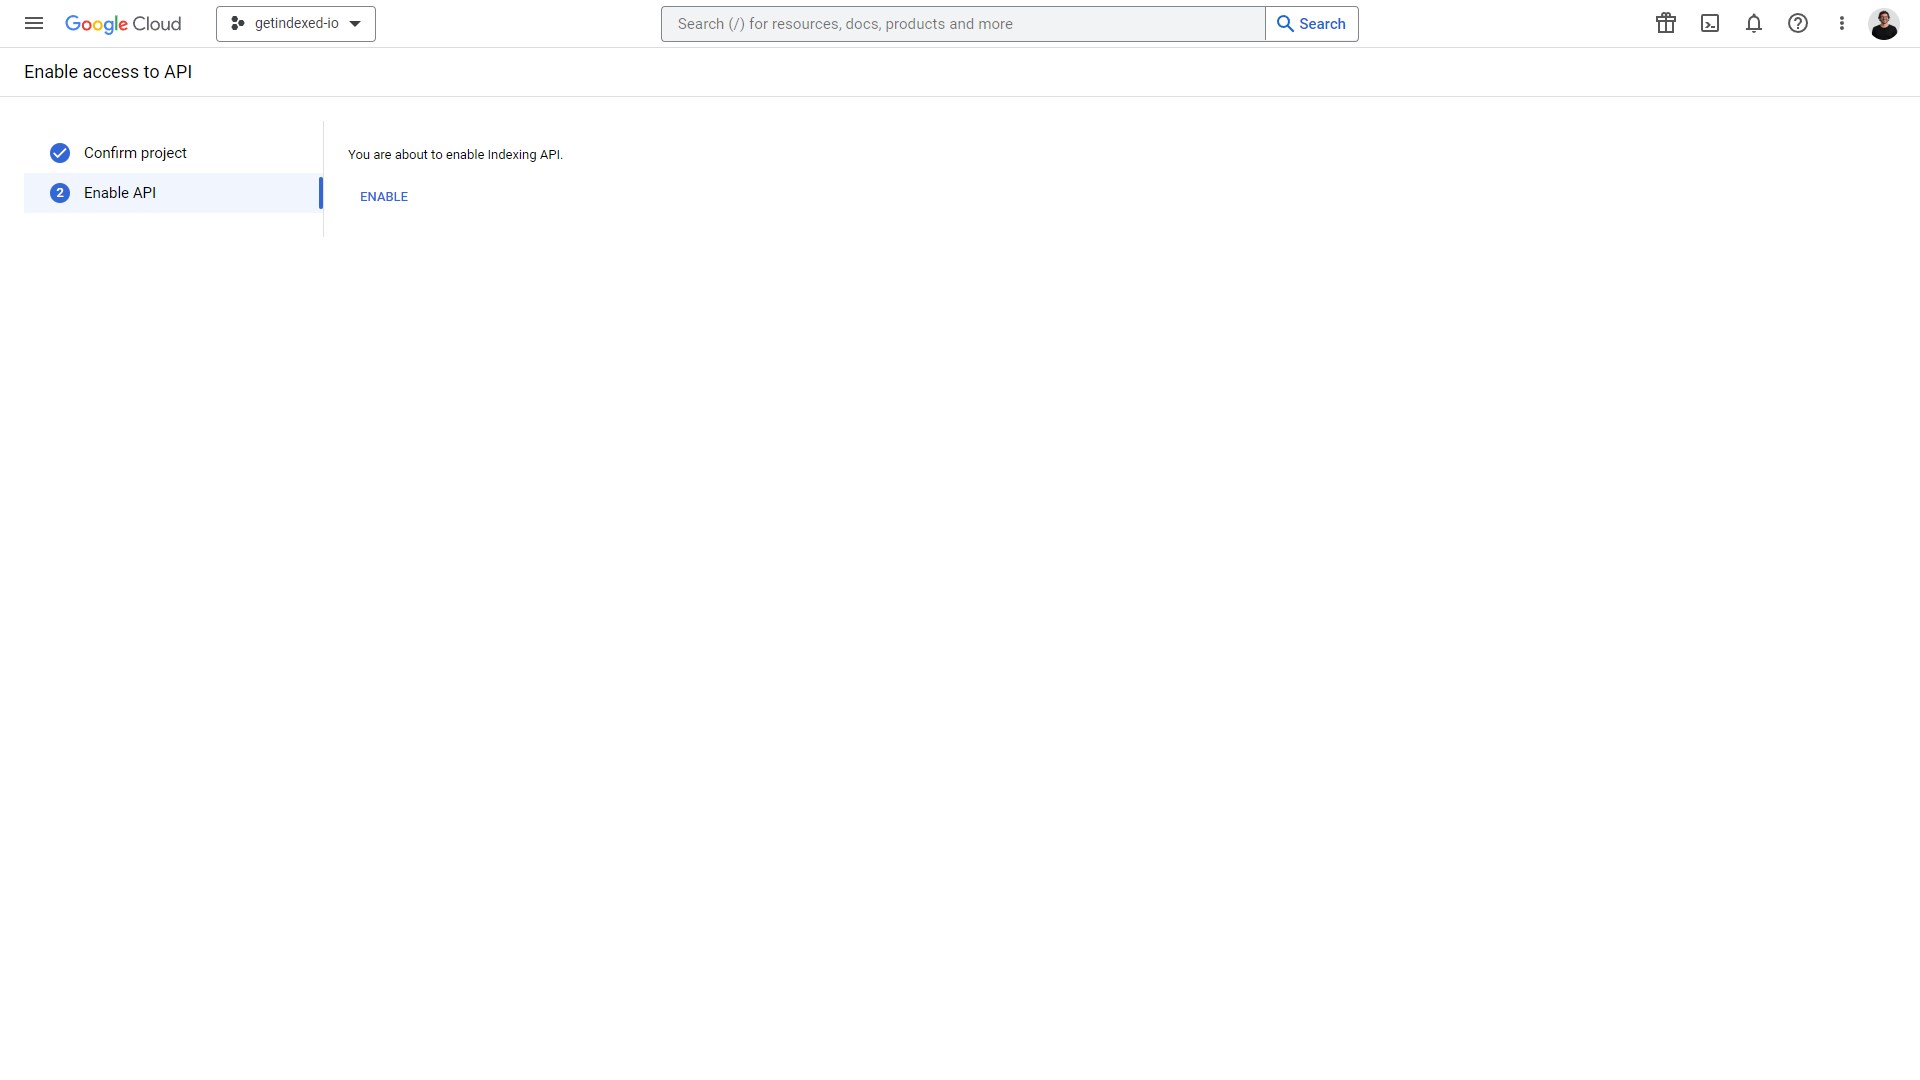
- Confirm the project by and then enable the Indexing API. The API is preselected as you clicked the deep link to it in step 1.
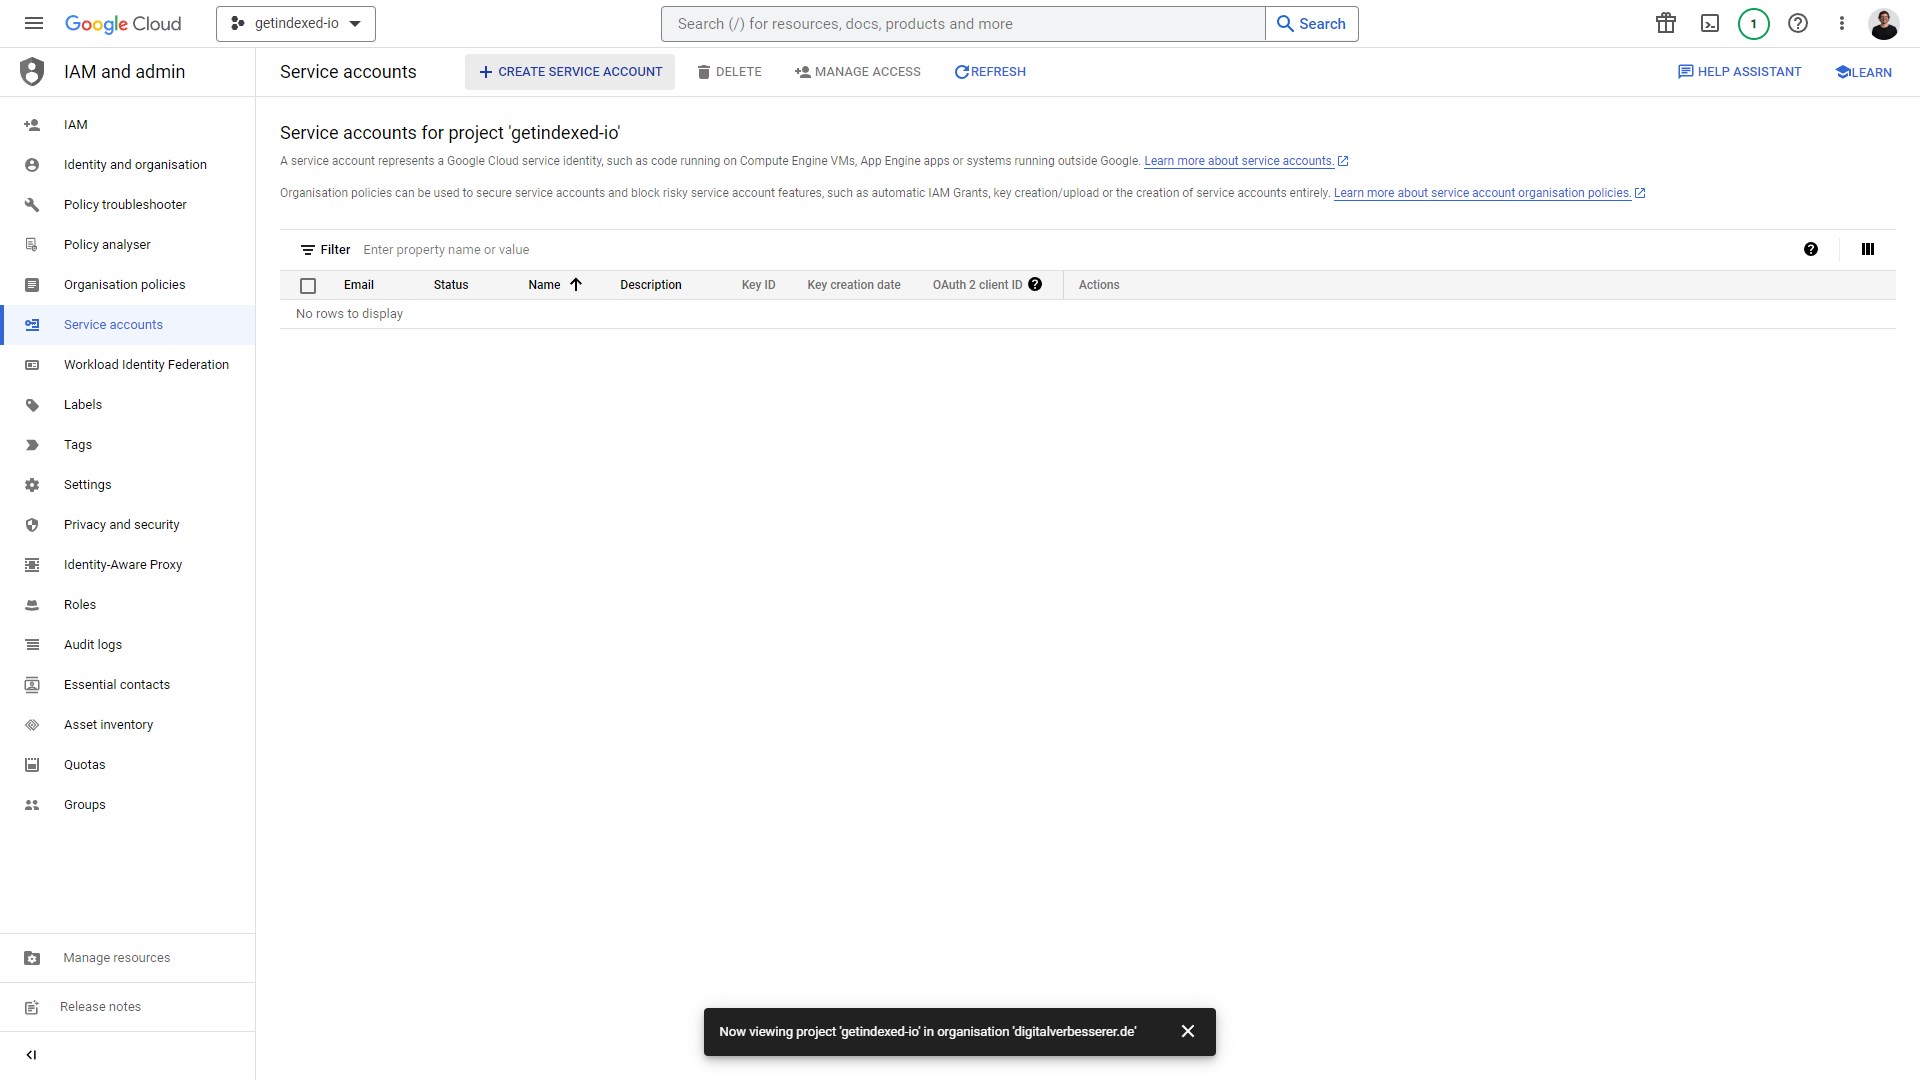
- After the project and API have been enabled, click on the burger menu in the upper left corner. Then select IAM and admin => Service accounts
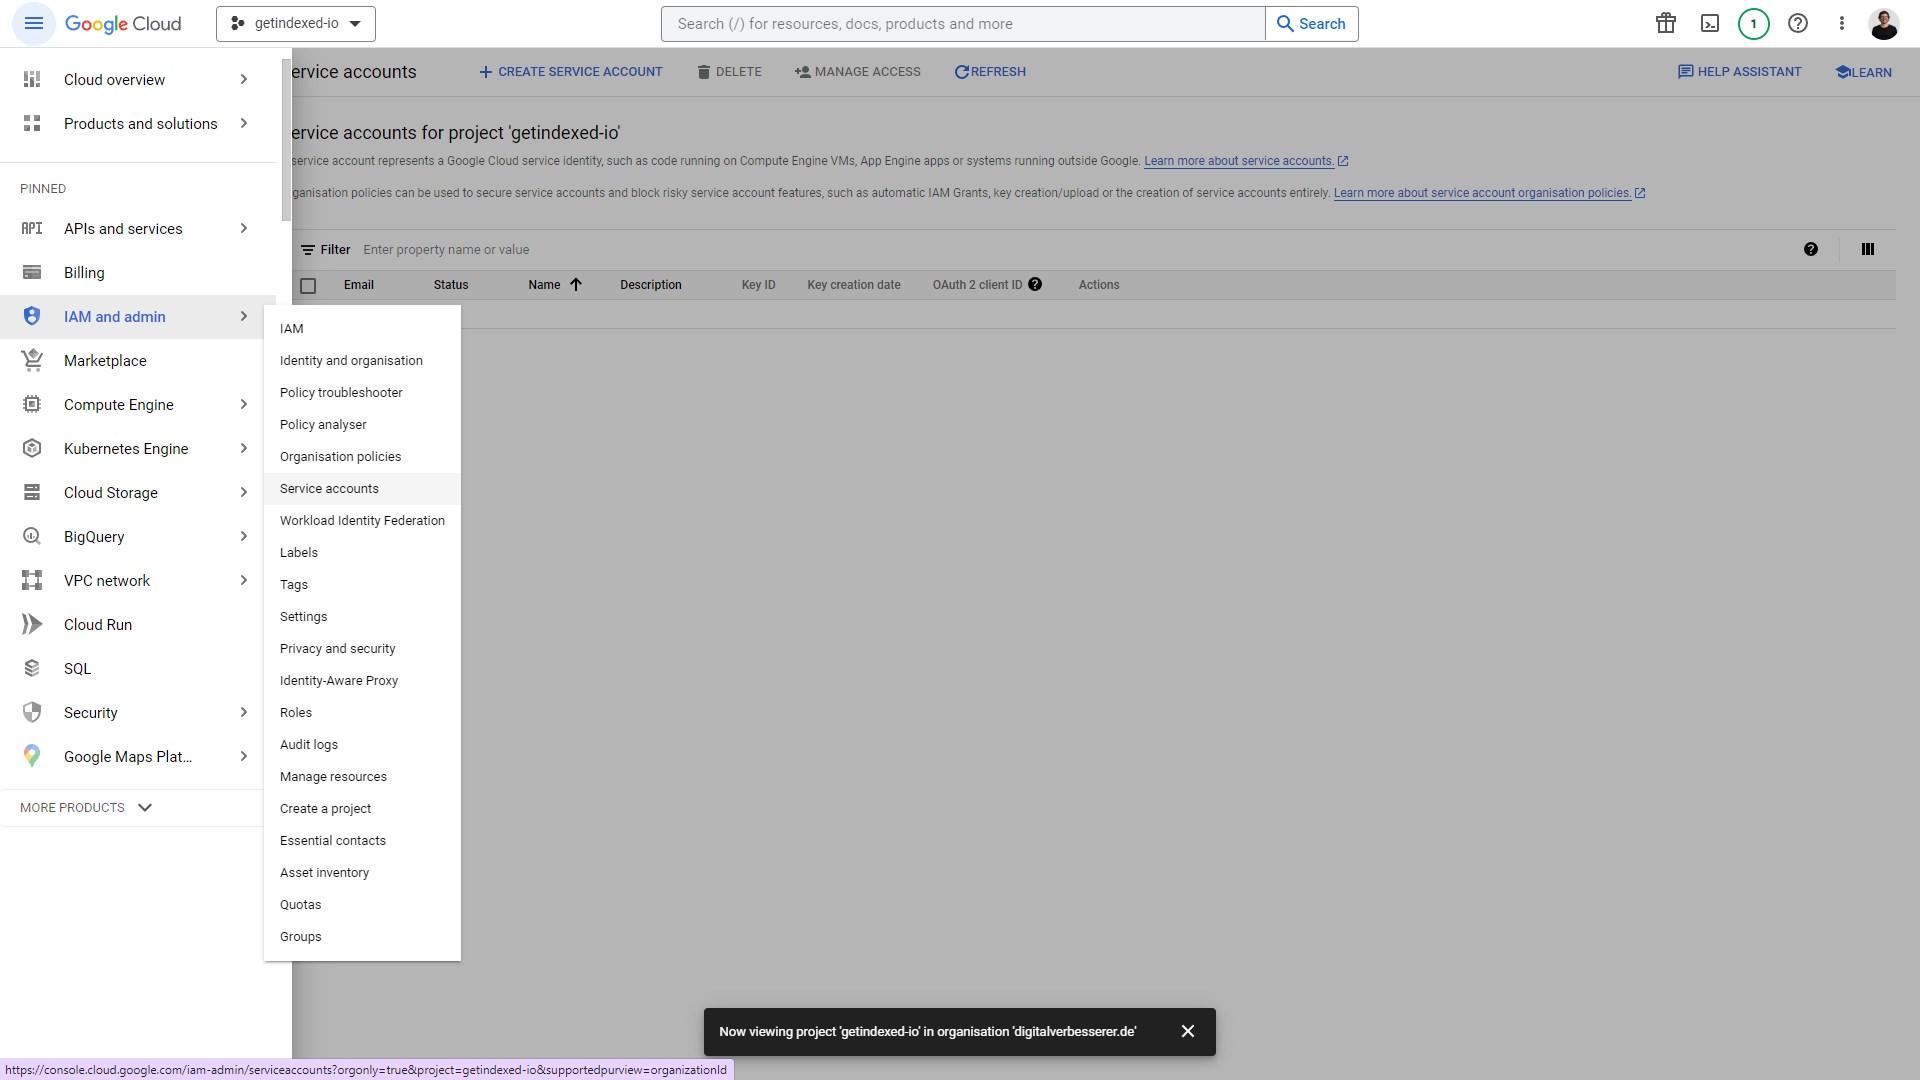
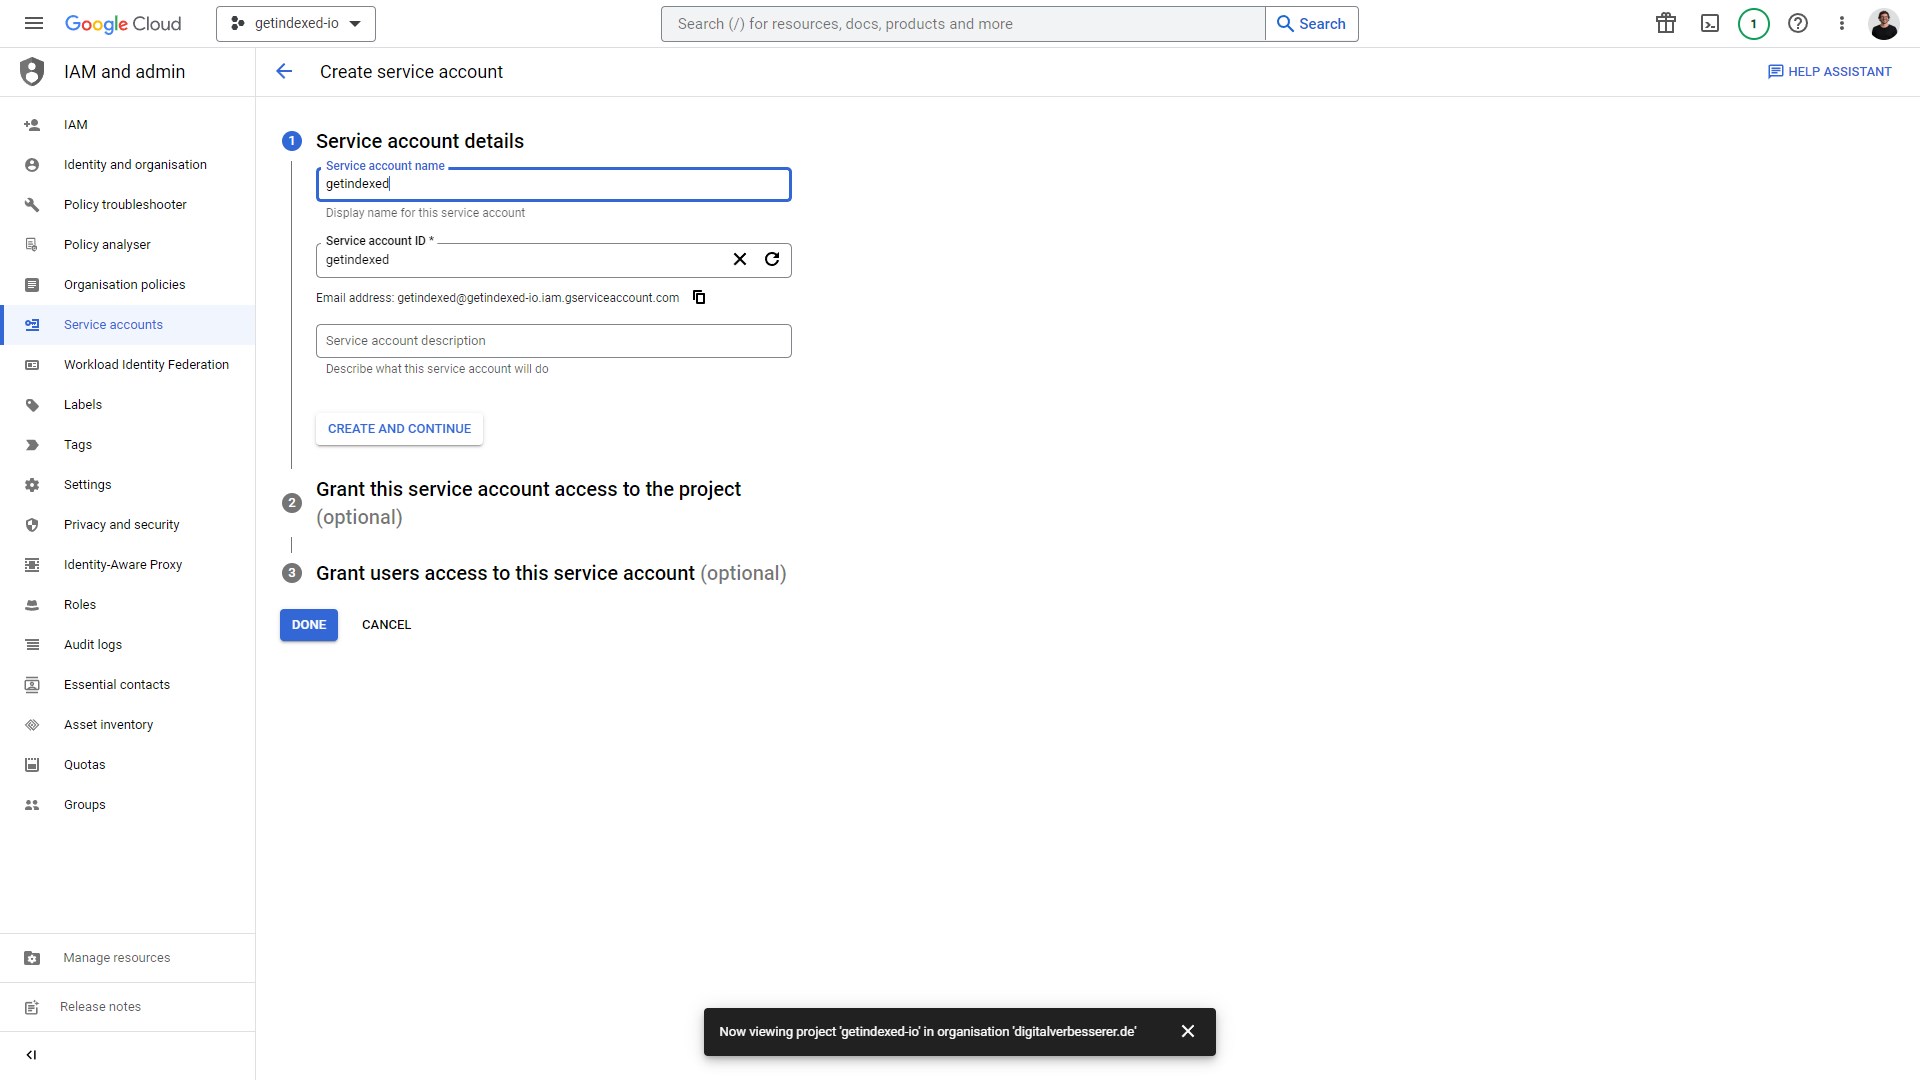
- On the service accounts mask, click “Create service account” below the search bar
- Choose whatever service account name you like, e.g. getindexed
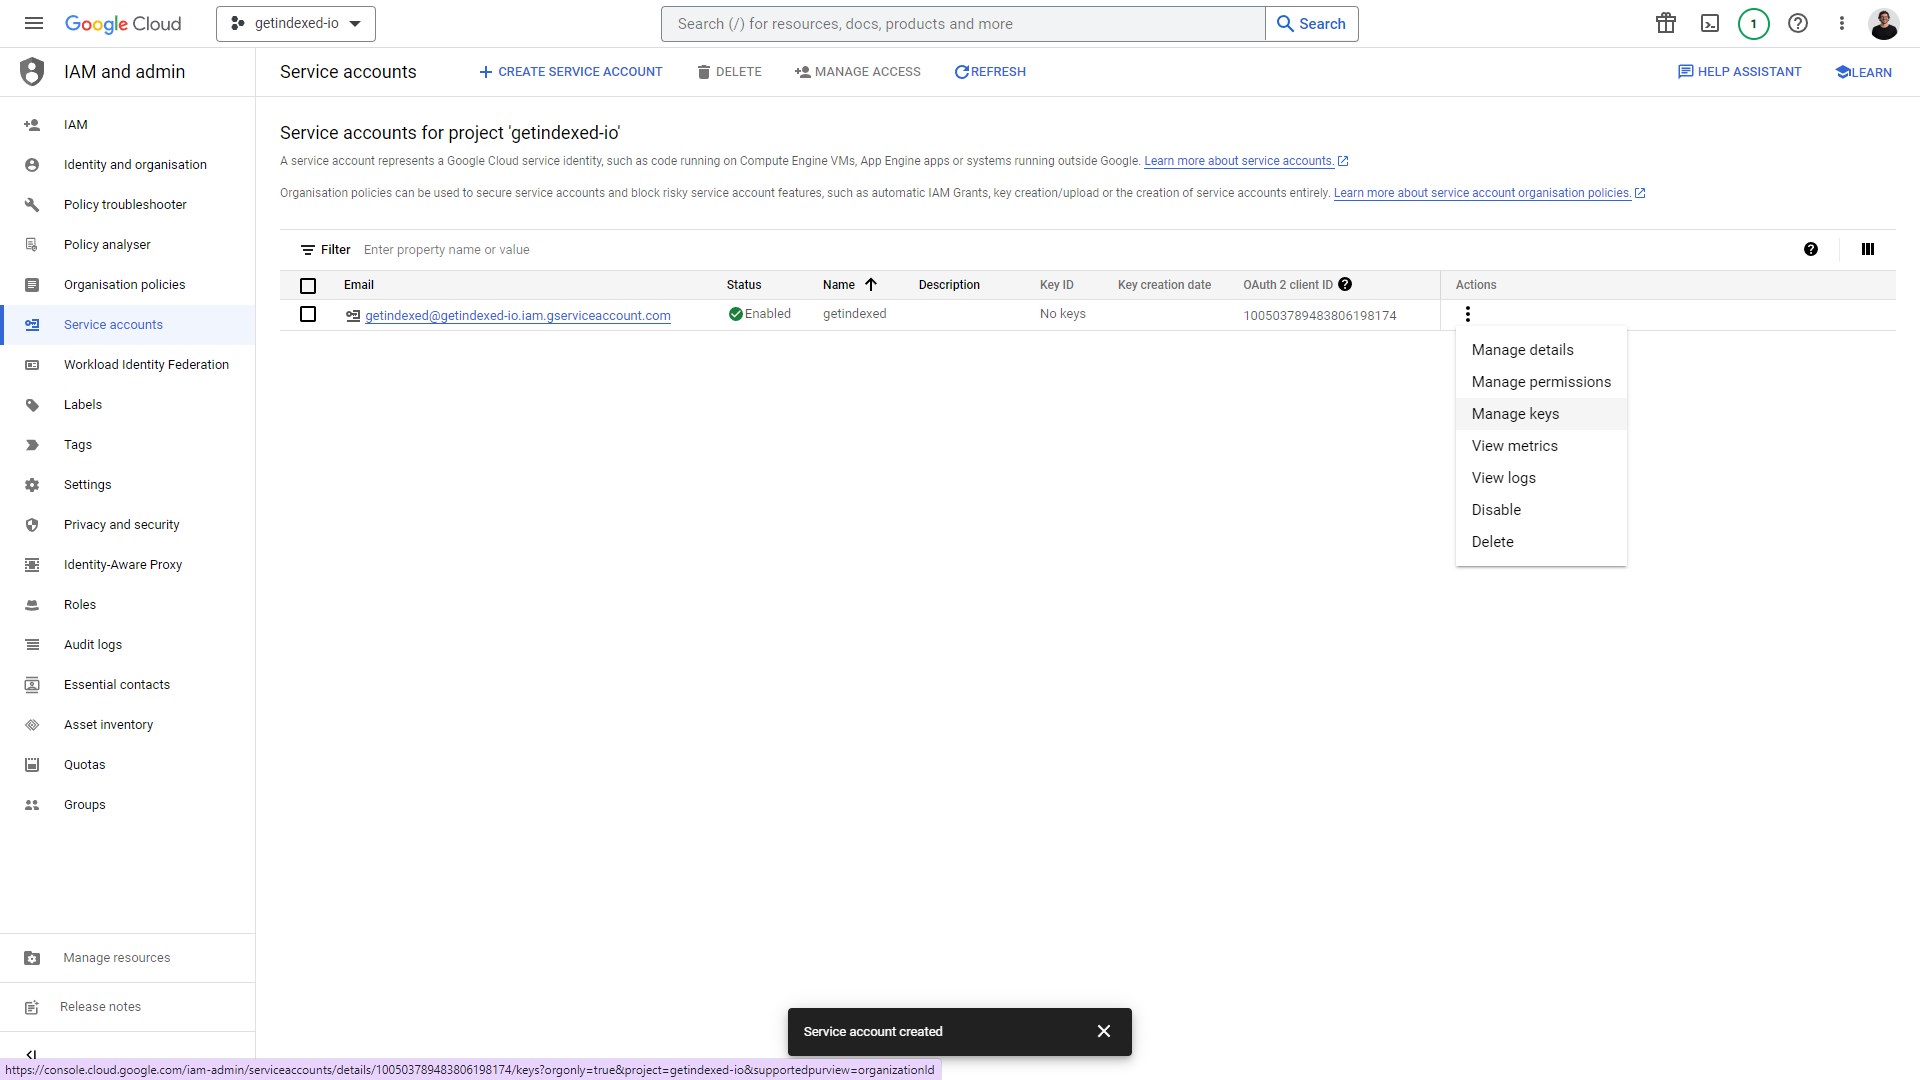
- After you created the service account, you will see the account on the overview page. Click on the three dots and then “manage keys“. Note: The email address is need at a later point for Google Search Console.
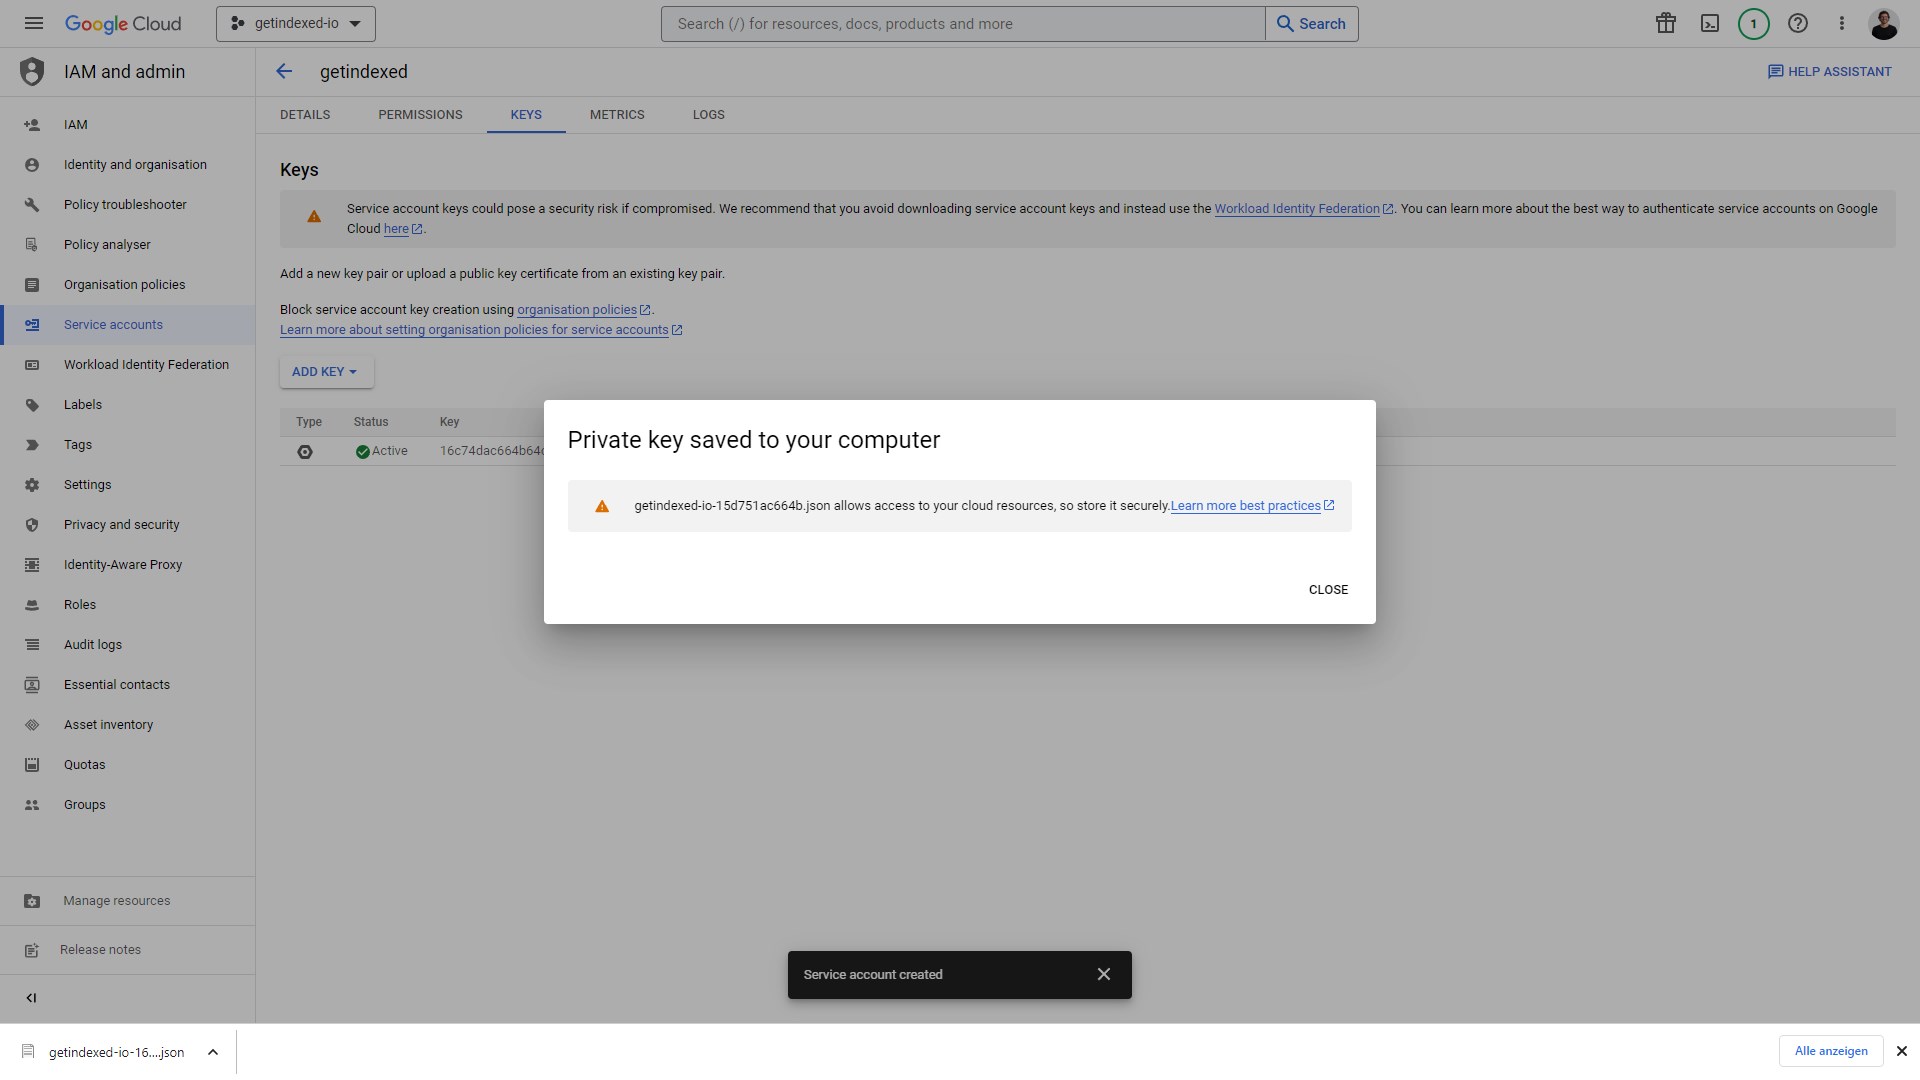
- To submit pages via the indexing API, we need to create the login details for the service account. Click “Add Key” and select “JSON”. Then click on create. Your JSON-key will be downloaded automatically. The key is needed to connect the Indexing API and getindexed, so we need the key later.

We are almost done 🙂 We now have created and activated a Google cloud service account with Google Indexing API activated. There is one last thing we require from Google cloud: The e-mail address of our service account.
This will be something like “getindexed-example@getindexed-io.iam.gserviceaccount.com”. You defined the name in step #8.
In case you don’t remember what you inserted: You can find the e-mail by switching within service accounts from keys to details, or head back to the service account overview. Copy the e-mail address.
Now, we need to add the account to the Google Search Console property (as owner!). So the next step is heading over to Google Search Console.
- Go to Settings => User and permissions. Click on Add user and paste the service account e-mail address. Import: You need to provide owner access!
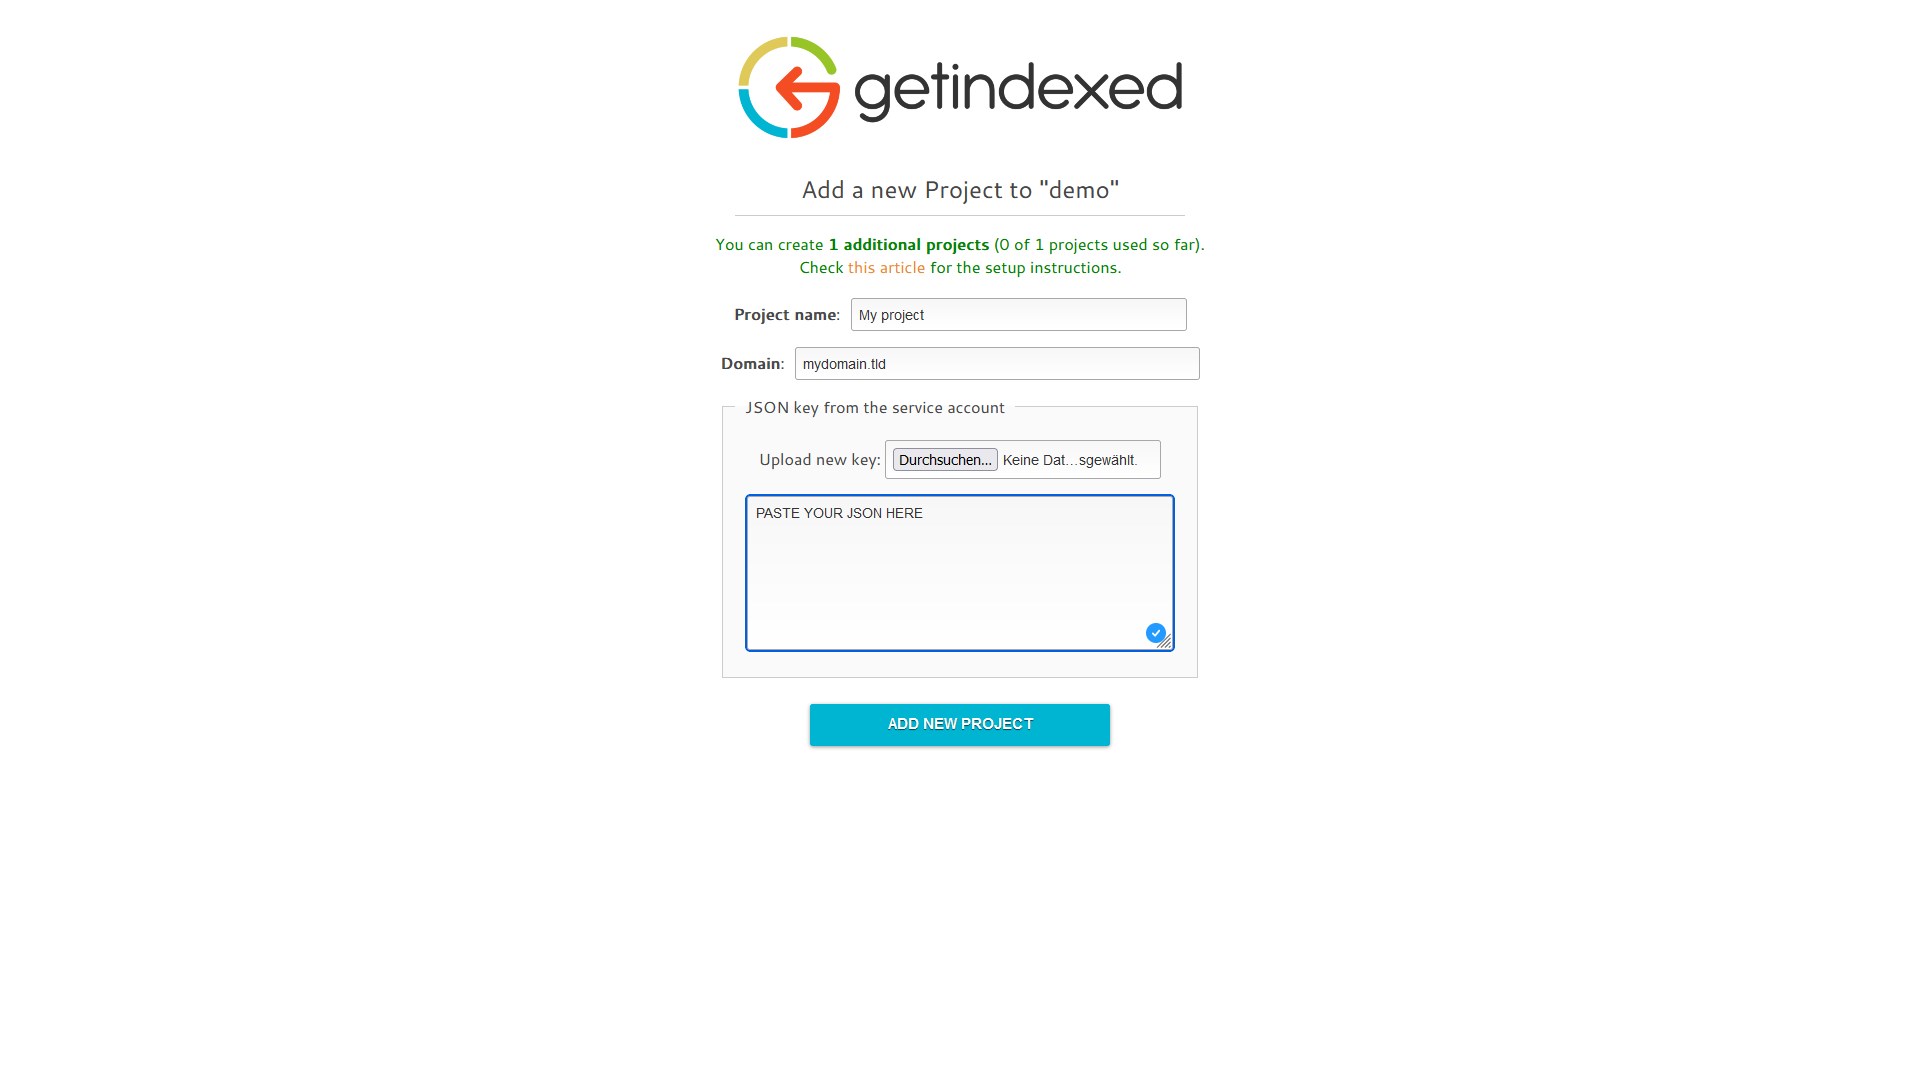
- Now go to getindexed. Your personal admin panel credentials have been shared with you via e-mail. After signing in, click on “Add another project” on the overview mask.
- Now we need to connect getindexed and your service account. To do that, we need the JSON key of your service account. That was downloaded in step 10 and should be in your downloads. Either select the file in the upload mask, or open it with any editor and copy the content in the input field.
Congratulations, you are done! Per service account and day, you can submit (or delete) up to 200 addresses.
Note: You can use the same service account for multiple projects. The 200 URLs per day limit is bound to the service account, not to the project. So it’s a shared quota by Google!
In case you want to submit more pages per day (or across different projects), you need to set up additional service accounts (and projects in getindexed).